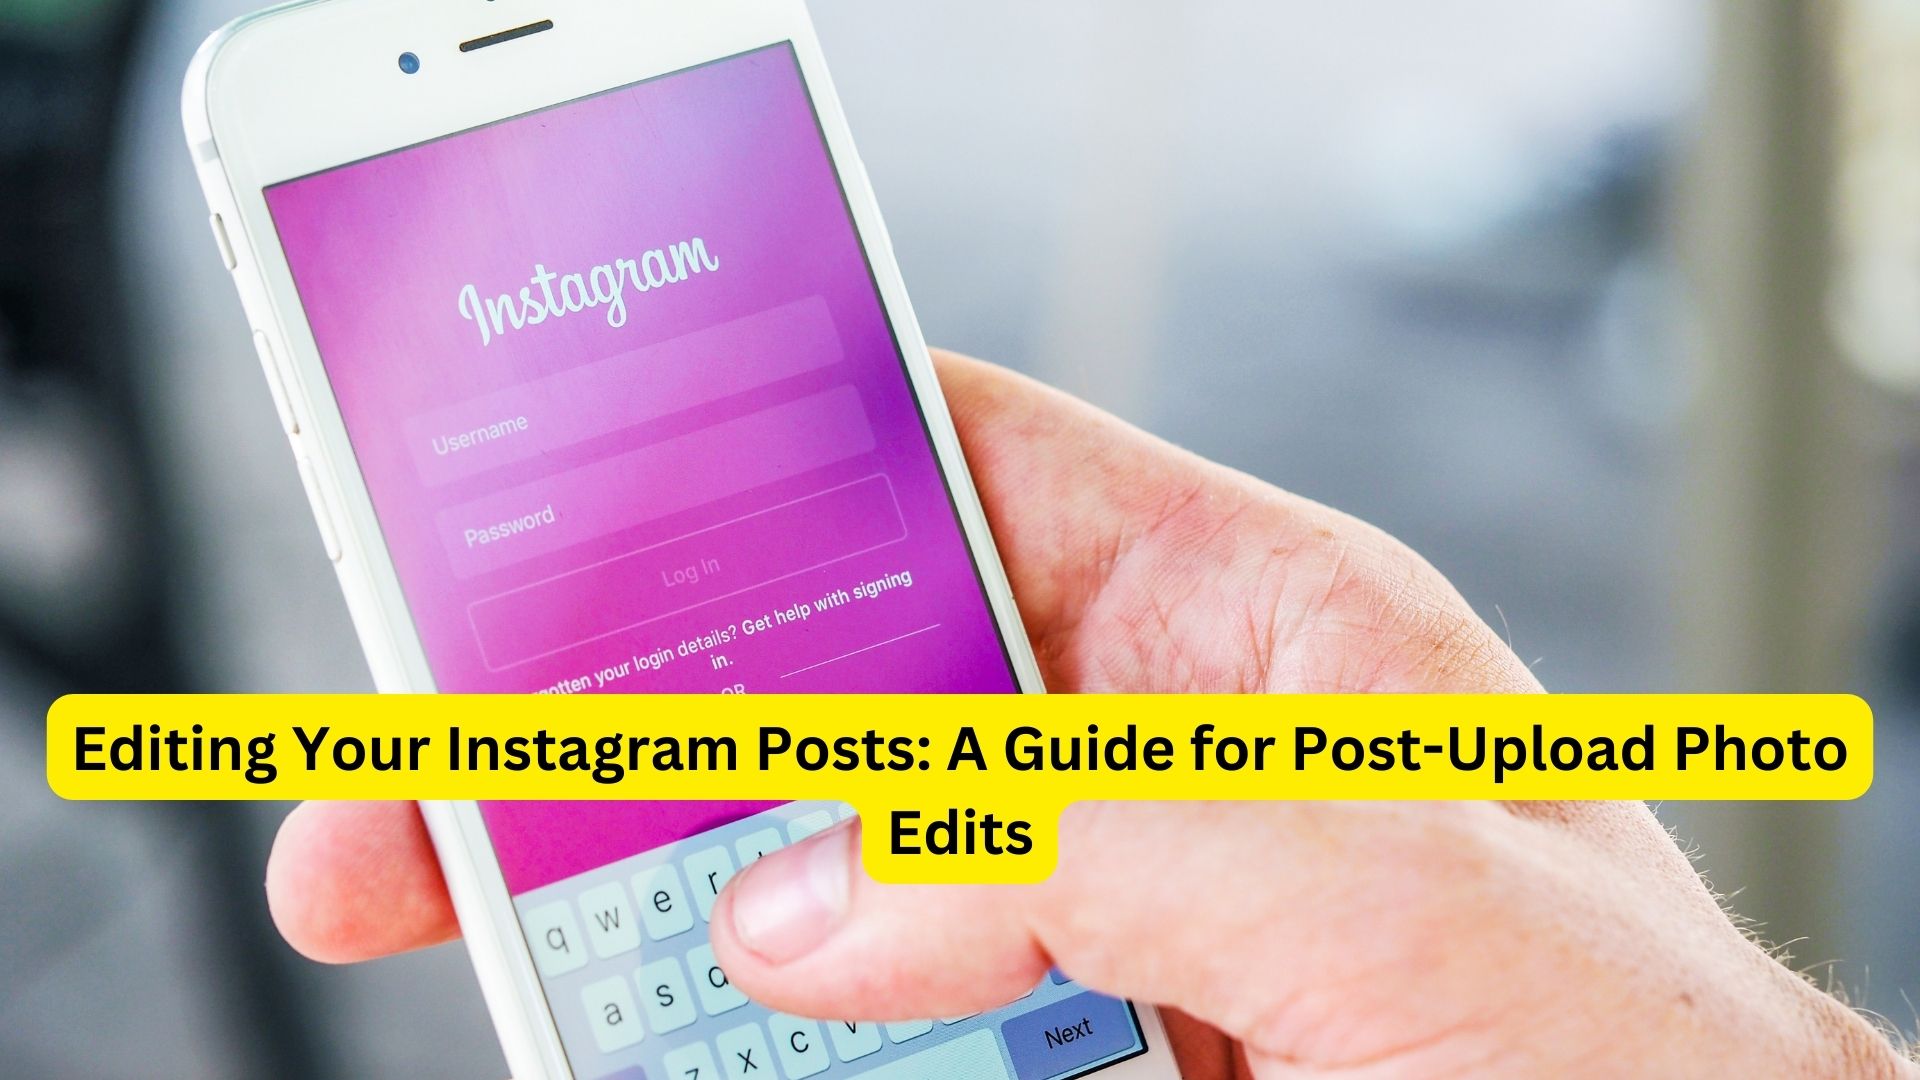
Instagram is widely recognized as one of the most popular social media platforms for sharing photos and special moments with your friends and followers. However, once you’ve shared a photo on Instagram, it doesn’t have to remain static. You have the option to edit your posts, and this includes the ability to edit the photos you’ve shared. Whether you want to correct errors, enhance your image, experiment with different edits, or update the content, this guide will walk you through the steps for editing your Instagram posts after they’ve been published.
Why Edit After Posting?
There are several valid reasons why you might want to edit a photo after posting it on Instagram:
- Correct Mistakes: Occasionally, you may spot a typographical error in your captions or realize that you’ve tagged the wrong account. Editing allows you to rectify these errors promptly.
- Improve Image Quality: It’s possible that you’ve acquired new editing skills or simply want to enhance the quality of your photo after it’s been posted.
- Change Filters or Effects: If you wish to experiment with different filters, effects, or adjustments, editing your post enables you to do just that.
- Update Content: In cases where the content of your photo changes (e.g., you want to add a new product to a marketing post), editing is a more practical solution than deleting and reposting.
- Maintain Engagement: Editing permits you to retain the likes, comments, and engagement on a post while making necessary improvements.
Steps to Edit Photos After Posting on Instagram
- Launch the Instagram App: Begin by opening the Instagram app on your mobile device and ensure that you’re logged into your account.
- Access Your Profile: Navigate to your profile either by tapping on your profile picture or using the bottom navigation bar. Scroll down to locate the specific post you want to edit.
- Access Post Options: On the top-right corner of the post, you’ll see three dots (ellipses) or a menu icon. Tap on this icon to access additional post options.
- Choose the ‘Edit’ Option: From the menu that appears, select the ‘Edit’ option, which will take you to the editing interface.
- Make Desired Changes: Within the editing interface, you have the freedom to adjust various elements, including the photo, caption, location, tags, and alt text. To edit the image itself, simply tap on the photo, which will open Instagram’s editing tools.
- Save Your Edits: After you’ve made the necessary changes, tap the ‘Done’ or ‘Save’ button, typically located in the top-right corner of the screen.
- Confirm Changes: Instagram will prompt you to save your edits. Confirm your intention by tapping ‘Save’ once more.
- Review and Repost: The edited version of your post will now be displayed. Take a moment to review it and ensure that everything aligns with your vision. If you are satisfied, tap ‘Share’ to repost the content with your newfound improvements.
Also read
Instagram Reels Download Online – How to do it?
In a few simple steps, Instagram empowers you to maintain the fluidity and dynamism of your posts, ensuring that your content remains as captivating as the day it was first shared. Happy editing!
2 thoughts on “Editing Your Instagram Posts: A Guide for Post-Upload Photo Edits”