
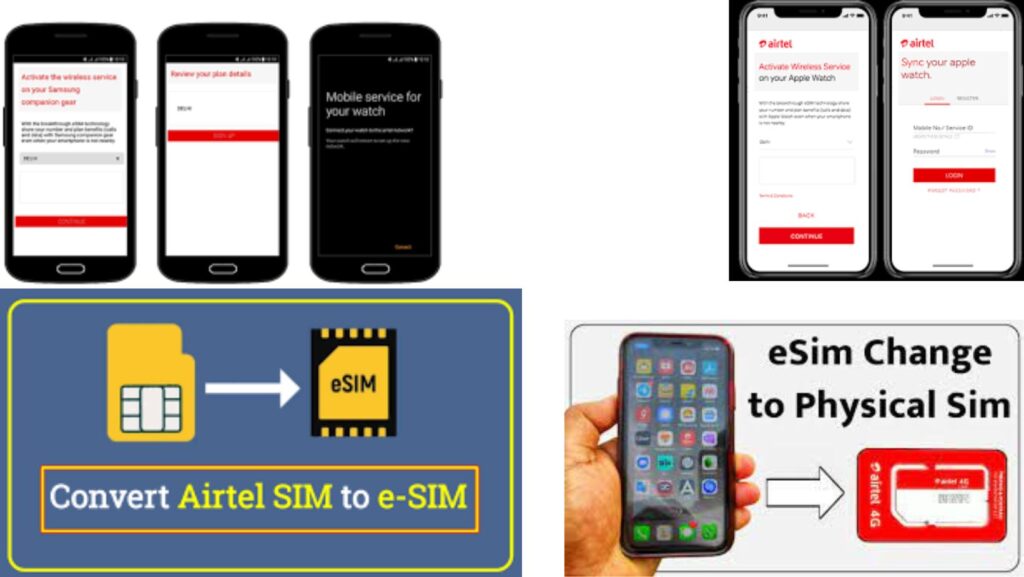
Are you ready for an amazing transformation? Say goodbye to the hassle of swapping SIM cards between networks and devices. Airtel, a top telecom provider in India, has introduced the revolutionary eSIM technology. This groundbreaking innovation simplifies the conversion process and takes your mobile experience to new heights. In this guide, we’ll unlock the secrets and show you how to convert your Airtel SIM to eSIM.
The Step-by-Step Process: Your Journey Begins to convert your Airtel SIM to eSIM
Let’s dive into the world of converting your Airtel physical SIM to eSIM. Follow these steps to navigate the conversion process smoothly:
-
Start the Conversion Process convert your Airtel SIM to eSIM:
Send an SMS from your registered mobile number with the text “eSIM <> Registered email ID” to 121.
-
Confirm Your Conversion Request:
If your email ID is correct, you’ll receive a message from 121 confirming the start of your transformation. Reply to this message with “1” within 60 seconds to proceed.
Note: Make sure your email ID is accurate, as an invalid email ID will require you to restart the process.
-
Give Consent for a Special Call:
You’ll receive another message from 121 asking for your consent to receive a call. Accept the call, as the conversion process will be canceled if you don’t.
Note: During the call, you’ll receive a final message from 121 containing a QR code sent to your registered email address.
-
Activate Your eSIM:
Access your registered email and find the QR code. This step takes about 2 hours to complete the eSIM activation. While this happens, your physical Airtel SIM will remain functional.
-
Scan the QR Code on Your Device:
Follow the device-specific instructions below to activate your eSIM using the QR code:
Apple iPhone: Go to Settings > Mobile Data > Add Data Plan. Scan the QR code received via email.
Google Pixel: Navigate to Settings > Network & Internet > Mobile Network > + Add > Set up eSIM. Scan the QR code sent to your email.
Samsung & Motorola: Access Settings > Connections > SIM Card Manager > Add Mobile Plan. Scan the QR code found in your email.
-
Give Your eSIM a Label:
Once the eSIM is activated, you’ll have the option to name it. Choose a label that reflects your identity and preferences.
Frequently Asked Questions (FAQs)
Here are answers to some common questions that arise during the conversion process:
- What is eSIM, and how is it different from a physical SIM card?
– eSIM is a digital SIM integrated into your smartphone. It eliminates the need for physical SIM cards and allows you to switch networks seamlessly without swapping cards.
- Is my device compatible with eSIM? How can I find out?
– Contact your smartphone’s support team or reach out to Airtel’s customer support for guidance on eSIM compatibility. Many popular smartphones, including iPhones, Google Pixels, and select Samsung Galaxy models, support eSIM.
- Can I convert my Airtel SIM to eSIM?
– Yes, Airtel allows the transformation of your physical Airtel SIM into an eSIM. Make sure your device supports eSIM before proceeding.
- Which documents do I need for the conversion process?
– Carry a valid proof of identity and address, such as an Aadhaar card, passport, or driver’s license. You’ll also need an eSIM-compatible device. Refer to Airtel’s website or customer support for specific documentation requirements.
- Will my mobile plan or phone number be affected during the conversion?
– No, your mobile plan and phone number will remain unaffected. The conversion process transfers your existing SIM details to the eSIM without disrupting your plan or phone number.
- Can I use the same eSIM on multiple devices simultaneously?
– No, eSIM activation is tied to a single device. While you can switch eSIM profiles between devices, you can’t use the same eSIM on multiple devices concurrently.
- Are there any additional charges for converting to eSIM?
– Airtel may impose a fee for the conversion process. Check Airtel’s website or contact their customer support to learn about any applicable charges.
Conclusion: Embracing a New Frontier
You have unraveled the mystery of converting your physical Airtel SIM to the amazing eSIM. Say goodbye to the hassle of swapping SIM cards and share this knowledge on social media. Let’s embrace a new era of seamless connectivity where boundaries no longer exist.
This Web Site Click Here
Read More
5 hill stations in India, you can reach via flight
5 Best laptops for students- With latest technology and user friendly
One thought on “Unraveling the Mysteries: The Ultimate Guide to Converting Your Airtel Physical SIM to eSIM”