Aadhaar goes beyond being just a piece of paperwork; it acts as a crucial link for accessing government benefits and services. Issued by the UIDAI, this unique 12-digit number contains vital information such as name, address, and date of birth, making it an indispensable aspect of every citizen’s identity.
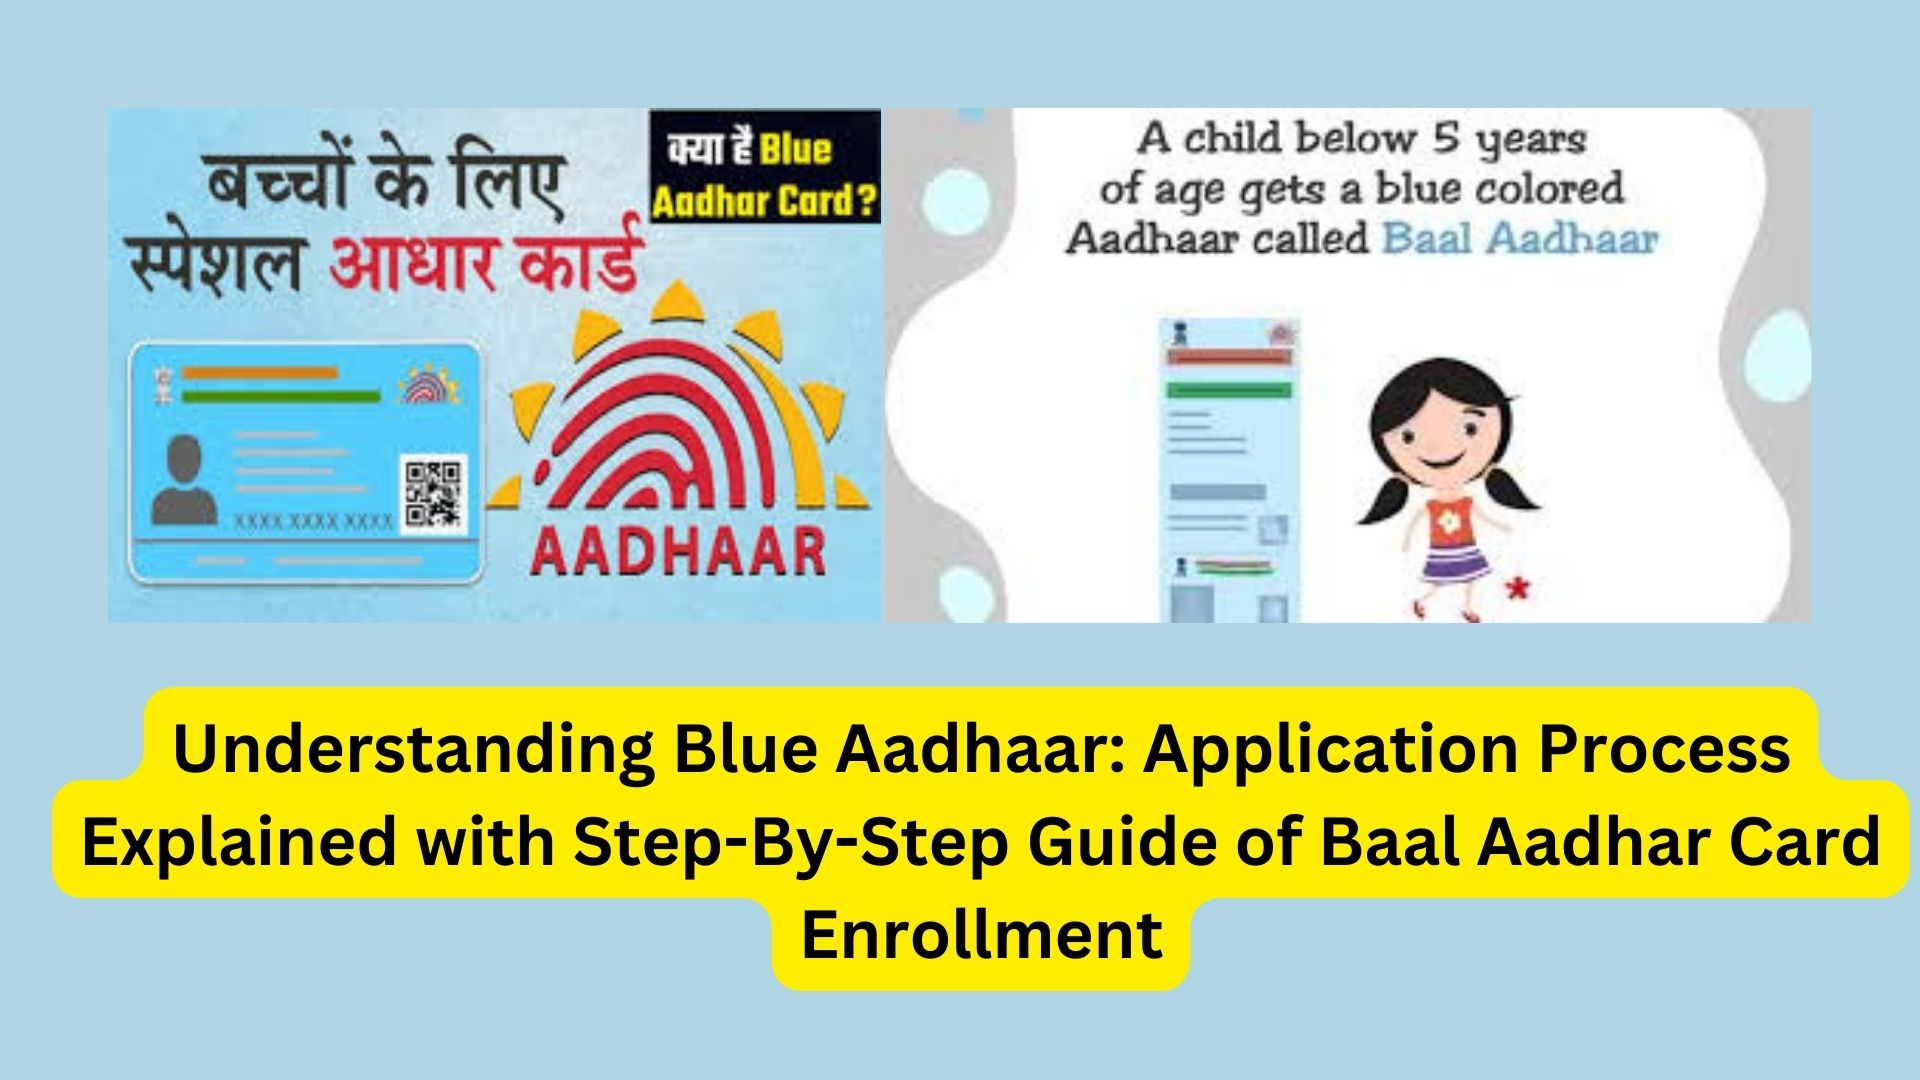
Introduced in 2018, the ‘Baal Aadhaar’ card is tailored for children under the age of five and is easily recognizable by its distinct blue color. Each card is assigned a unique 12-digit number specifically designed for this age group. Unlike adult Aadhaar cards, no biometric data is initially required for the Baal Aadhaar; instead, the child’s UID is established based on demographic information and a facial photograph linked to their parent’s UID. However, it’s important to note that biometric data must be updated when the child reaches the age of five and again at fifteen to maintain the card’s validity. The good news is that updating biometric data for teenage cardholders is free of charge.
Application Process: Parents looking to obtain a Baal Aadhaar for their newborn can utilize documents such as the birth certificate, hospital discharge slip, or school ID as valid proofs. This card facilitates access to government assistance programs and aids in verifying eligible students for EWS scholarships.
Step-by-Step Guide of Baal Aadhar Card Enrollment (Blue Aadhaar):
- Visit the UIDAI website and navigate to the Aadhaar card registration section.
- Enter the child’s details along with the parent or guardian’s phone number and other necessary information.
- Select a suitable appointment slot for registering the Blue Aadhaar card.
- Schedule an appointment at the nearest enrollment centre for the registration procedure.
- Attend the enrollment centre with your child and provide the necessary documents, including your Aadhaar card, address proof, and the child’s birth certificate.
- Provide your Aadhaar details, which will be linked with the child’s UID.
- Only a photograph of the child will be taken at this stage; biometric data is not mandatory.
- The document verification process will then commence.
- You will receive a notification on your registered mobile number once the process is complete.
- Obtain the acknowledgment slip, and within 60 days of verification, a Blue Aadhaar card will be issued for your child.
Several schools have made the Blue Aadhaar mandatory during the admission process, highlighting its importance in verifying a child’s identity and eligibility for various educational schemes.
Also Read

3 thoughts on “Understanding Blue Aadhaar: Application Process Explained with Step-By-Step Guide of Baal Aadhar Card Enrollment”