In today’s digital age, cloud storage is becoming increasingly essential, with millions relying on these services for storing important documents and files. Among the plethora of options available, Google Drive stands out as one of the most popular choices. Many users leverage Google Drive for its seamless integration and reliable storage capabilities. As reliance on cloud storage grows, having quick and easy access to your files directly from your iPhone’s home screen can greatly enhance convenience and efficiency.
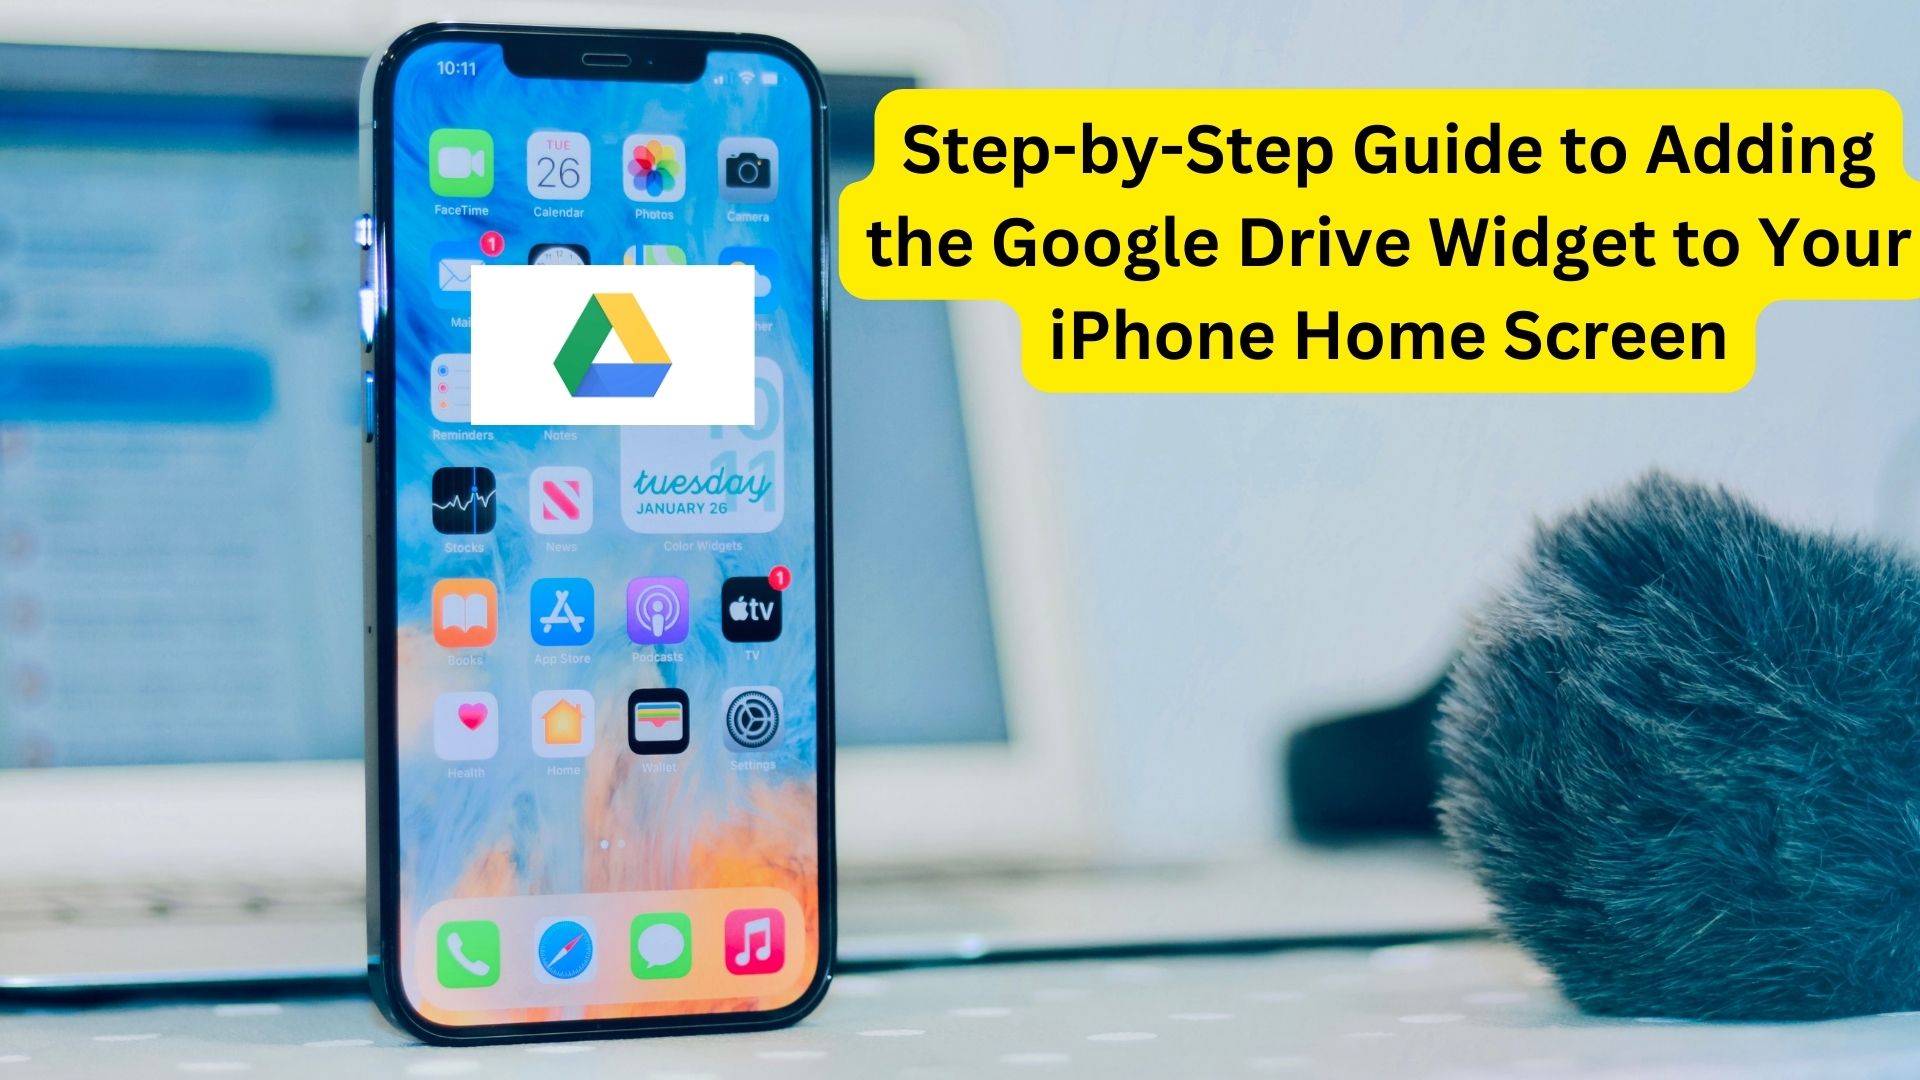
Customizing Your iPhone Home Screen with Google Drive Widget
iPhone users can significantly improve their device’s usability by customizing their home screen with widgets, allowing for quick access to vital information and applications. For those who frequently use Google Drive, adding its widget to the home screen can streamline access to important files. However, it is important to note that this feature is available only on iPhones running iOS 16 or later. Additionally, widgets can only be created for Google apps that are already installed on the device.
Steps to Add Google Drive Widget to Your iPhone Home Screen
If you’re looking to add the Google Drive widget to your iPhone’s home screen, follow these detailed steps:
- Activate Customization Mode: Begin by pressing and holding the Lock Screen until customization options appear.
- Select Customize: From the menu that appears, tap on the “Customize” option.
- Add Widgets: Choose the “Lock Screen” option and then tap on “Add Widgets.”
- Find the Drive Widget: Scroll through the available widgets until you find the Google Drive widget.
- Customize the Widget: Tap on the Drive widget to start customizing it.
- Place the Widget: Drag the widget to the shortcut bar located beneath the clock on your screen.
- Configure Settings: After placing the widget, tap on it to access and select your preferred configuration settings.
- Apply Changes: Once you have configured the widget to your liking, tap “Done.”
- Set as Wallpaper Pair: Select “Set as Wallpaper Pair” to apply the changes.
- Exit Customization Mode: Finally, tap on the Lock Screen again to exit the customization mode.
Conclusion
Incorporating the Google Drive widget on your iPhone’s home screen not only enhances accessibility but also improves productivity by allowing swift access to important files. With these simple steps, you can ensure that your essential documents are just a tap away, making your daily tasks more efficient and your iPhone experience more streamlined.
Also Read
How to Solve Storage Full Error on Google Drive: Effective Strategies for Space Management
2 thoughts on “Step-by-Step Guide to Adding the Google Drive Widget to Your iPhone Home Screen”